So, I wanted a way to quickly display data in Winforms (C#).
Granted, we have ListView, but I hate the ceremony involved to populate a ListView.
So, I decided to develop something similar to a ListView, but with a more econimcal API.
I think I achieved that.
Not quite as hard as you may think.
I called my new control View, whch exists within the UI.UIGrid namespace.
In this post...
Top
1. Grid View Goals
- Simple API
- Fast
- Extendible
My first take meets the first two criteria.
Top
2. Test Data
As with all things software, testing is key.
For this particular solution a list of something is required.
I opted for a simple list of customers. where the list count may be specified.
The code for the test suite follows.
Top
2.1 Customer
using System;

namespace UI.App.DataAccess
{
  public class Customer
  {
    public string FirstName { get; }
    public string LastName { get; }
    public DateTime DOB { get; }

    public Customer(
      string firstName,
      string lastName,
      DateTime dob)
    {
      this.FirstName = firstName;
      this.LastName = lastName;
      this.DOB = dob;
    }
  }
}
Top
2.2. Customer Mock Data
using System;
using System.Collections.Generic;

namespace UI.App.DataAccess
{
  public static class MockData
  {
    public static IEnumerable<Customer> Random(int count)
    {
      DateTime start = new DateTime(1995, 1, 1);
      int range = (DateTime.Today - start).Days;

      for (int i=0; i<count; i++)
      {
        yield return new Customer(
          $"First{i}",
          $"Last{i}",
          start.AddDays(i));
      }
    }
  }
}
Top
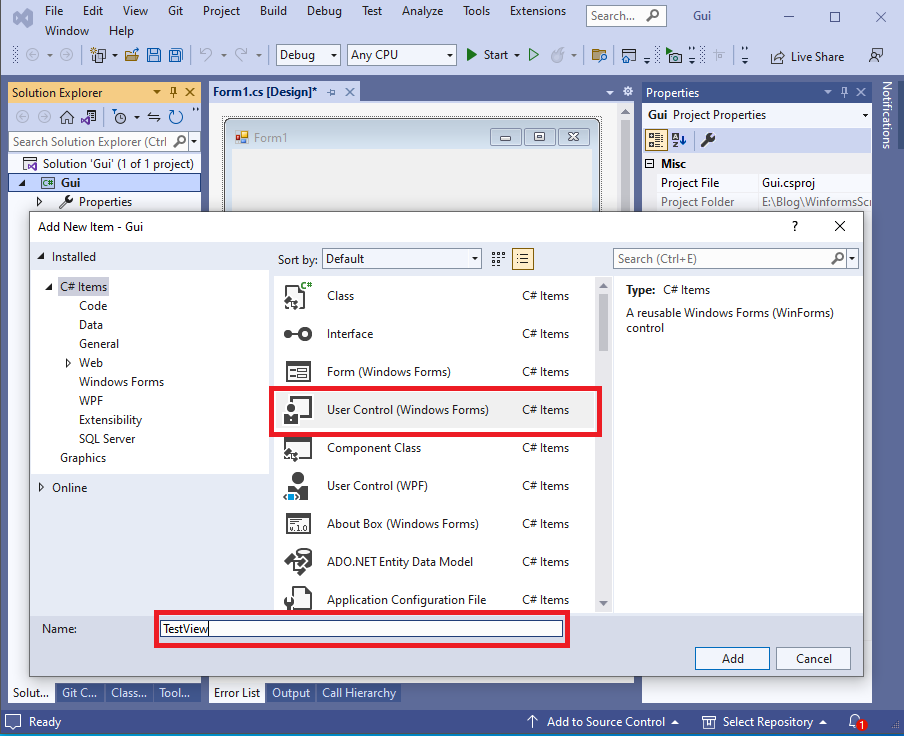
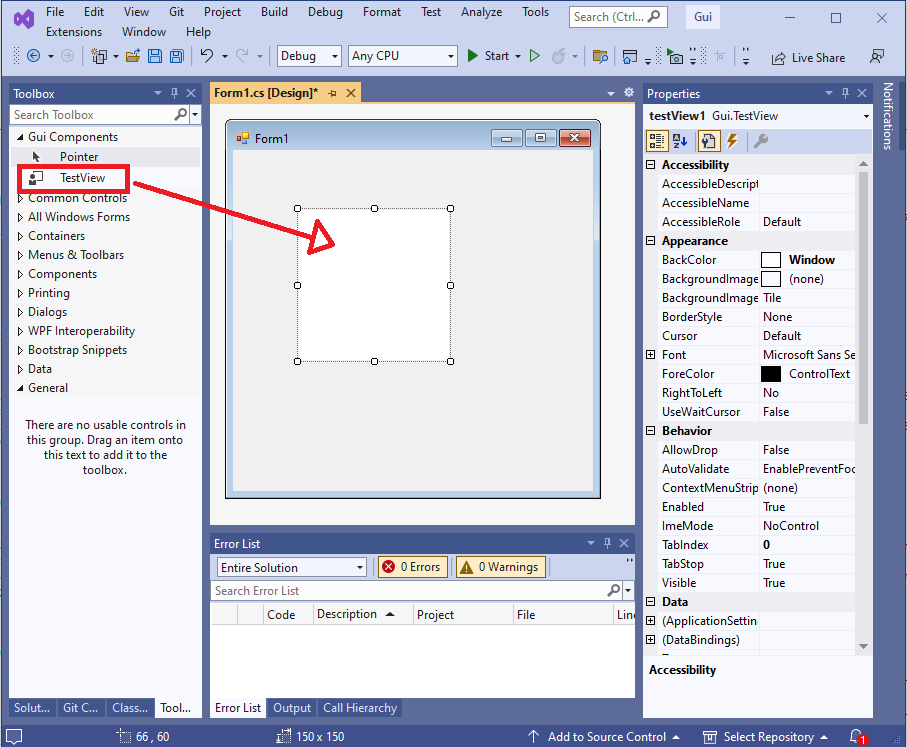
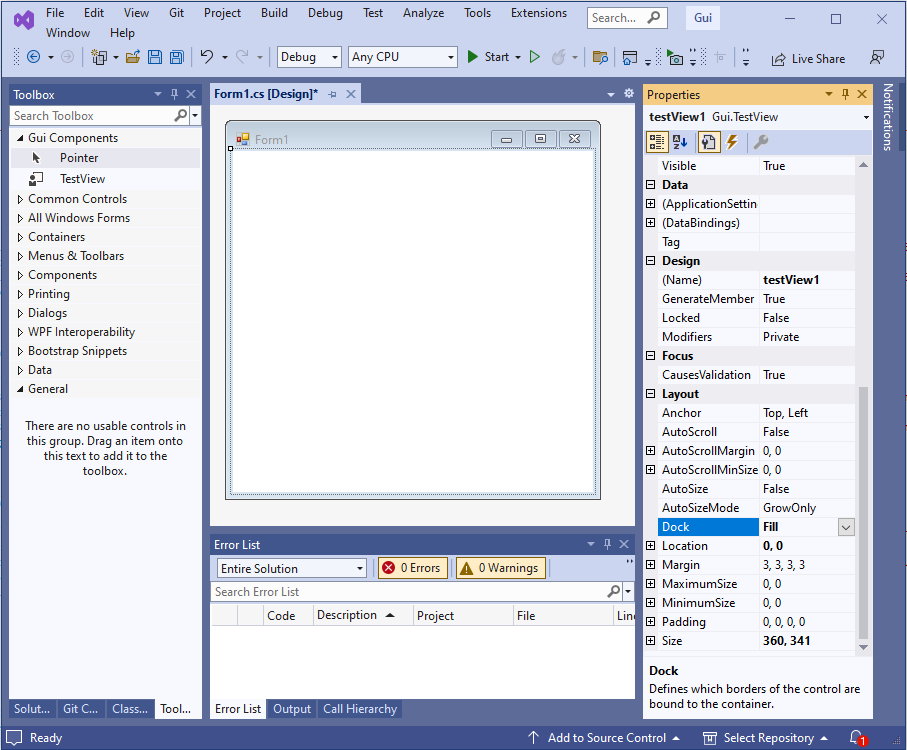
3. Grid View As A User Control

Figure 1: Grid View
The above image illustrates the components of the grid view.
The grid view consists of a User Control that contains the following...
- A header (UIColumns in this case)
UIColumns is a Panel control that is used to display individual coumns.
UIColumns overrides the Paint event.
- A rows view (a Panel derived view)
No surprises here, the rows view is responsible for painting row data.
Top
3.1. Using the Grid View
To use my grid control, from say, a form, I used the following code...
protected override void OnLoad(EventArgs e)
{
  new UIGrid.View()
  {
    Parent = this,
    Dock = DockStyle.Fill,
  }
  .WithColumn("First Name", 80)
  .WithColumn("Last Name", 80)
  .WithColumn("DOB", 80)
  .WithData(
  DataAccess.MockData.Random(50000),
  (c, cells) =>
  {
    cells[0] = c.FirstName;
    cells[1] = c.LastName;
    cells[2] = c.DOB.ToString("dd/MM/yyyy");
  });
}
Top
3.2. Grid View Output
So, the expected output of my grid view is as follows...
Let's introduce some concepts...
- The view will have columns.
- The view will have rows where each row's width is specified by its column.
- Each row will contain one or more cells, essentially strings for now.
4. Implementation
In this section I will show/discuss the implementation used to realise my original concept.
Here goes...
Top
4.1. Column
using System;

namespace UI.UIGrid
{
  public class Column
  {
    public string Title { get; }
    public int Width { get; }

    public Column(
      string title,
      int width)
    {
      this.Title = title;
      this.Width = width;
    }

    public override string ToString() =>
      $"{Title}, {Width}";
  }
}
The column class is simple, it simply stores the column title and the column width.
Top
4.2. Rows
namespace UI.UIGrid
{
  public class Row
  {
    public View View { get; }
    public string[] Cells { get; }

    public Row(
      View view,
      string[] cells)
    {
      this.View = view;
      this.Cells = cells;
    }
  }
}
The row class is also simple. It maintains a back pointer to the View, and a collection of cells (strings).
An array of strings is used to optimise lookup.
Top
4.3. Rows View
using System.Windows.Forms;

namespace UI.UIGrid
{
  public partial class RowsView : Panel
  {
    public RowsView()
    {
      InitializeComponent();
      DoubleBuffered = true;
      ResizeRedraw = true;
    }
  }
}
Top
4.4. View
The view class is reponsible for drawing columns and rows, and processing events.
One could create separate, panel-derived classes, one for columns and one for rows.
The problem with this approach is sharing data between the different controls.
My approach simplifies data exchange (all in one class, the View) at the expense of slightly more verbose code.
Software, always trade offs!
using System;
using System.Collections.Generic;
using System.Drawing;
using System.Linq;
using System.Windows.Forms;
namespace UI.UIGrid
{
public partial class View : UserControl
{
public struct ScrollInfo
{
public int X;
public int Y;
public ScrollInfo(int x, int y)
{
this.X = x;
this.Y = y;
}
public static ScrollInfo FromControl(Panel c)
{
return new ScrollInfo(
-c.AutoScrollPosition.X,
-c.AutoScrollPosition.Y);
}
}
private readonly List<Column>; _columns = new List<Column>();
private readonly List<Row> _rows = new List<Row>();
private readonly Color _gridColor = Color.Gainsboro;
private int _rowHeight;
public View()
{
InitializeComponent();
UIColumnsInit();
UIRowsInit();
_rowHeight = Font.Height + 4;
}
public View WithColumn(string title, int width)
{
_columns.Add(new Column(title, width));
return this;
}
public View WithData<T>(
IEnumerable<T> data,
Action<T, string[]> mapRowCells)
{
_rows = data
.Select(r =>
{
string[] row = new string[_columns.Count];
mapRowCells(r, row);
return new Row(this, row);
}).ToList();
return this;
}
private void UIColumnsInit()
{
UIColumns.Height = Font.Height;
UIColumns.Paint += UIColumns_Paint;
}
private void ForceColumnsRepaint()
{
UIColumns.Invalidate();
UIColumns.Update();
}
private void UIColumns_Paint(object sender, PaintEventArgs e)
{
e.Graphics.TranslateTransform(
UIRows.AutoScrollPosition.X,
0);
Rectangle rcCol = new Rectangle(
UIColumns.ClientRectangle.Left,
UIColumns.ClientRectangle.Top,
0,
UIColumns.ClientRectangle.Height);
_columns.ForEach(col =>
{
rcCol.Width = col.Width;
e.Graphics.DrawString(col.Title, Font, Brushes.White, rcCol);
e.Graphics.DrawLine(Pens.Gainsboro, rcCol.Right - 1, rcCol.Top, rcCol.Right - 1, rcCol.Bottom);
rcCol.X = rcCol.Right;
});
}
private void UIRowsInit()
{
UIRows.Paint += UIRows_PaintNaive;
UIRows.Scroll += UIRows_Scroll;
UIRows.Resize += (e, s) => ForceColumnsRepaint();
}
private void UIRows_Scroll(object sender, ScrollEventArgs e)
{
// Force columns to repaint upon a horizontal scroll event.
if (e.ScrollOrientation == ScrollOrientation.HorizontalScroll)
ForceColumnsRepaint();
}
private int PaintVerticalGridLines(
Graphics g,
Color lineColor,
int yScroll)
{
int right = 0;
using (Pen pen = new Pen(lineColor, 1))
{
_columns.ForEach(c =>
{
right += c.Width;
g.DrawLine(
pen,
right - 1,
UIRows.DisplayRectangle.Top,
right - 1,
UIRows.DisplayRectangle.Bottom + yScroll);
});
}
>return right;
}
private void PaintRow(
Graphics g,
Pen gridPen,
Font font,
Rectangle rcRow,
int xScroll,
Row row)
{
Rectangle rcCell = rcRow;
rcCell.X = 0;
for (int cell = 0; cell < _columns.Count; cell++)
{
rcCell.Width = _columns[cell].Width;
g.DrawString(row.Cells[cell], font, Brushes.Black, rcCell);
rcCell.X = rcCell.Right;
}
g.DrawLine(gridPen, rcRow.Left, rcCell.Bottom, rcRow.Right + xScroll, rcCell.Bottom);
}
private void UIRows_PaintNaive(object sender, PaintEventArgs e)
{
e.Graphics.TranslateTransform(
UIRows.AutoScrollPosition.X,
UIRows.AutoScrollPosition.Y);
ScrollInfo si = ScrollInfo.FromControl(UIRows);
Rectangle rcDisp = UIRows.ClientRectangle;
Rectangle rcRow = new Rectangle(0, 0, DisplayRectangle.Width + si.X, _rowHeight);
rcDisp.Offset(-UIRows.AutoScrollPosition.X, -UIRows.AutoScrollPosition.Y);
int yPos = 0;
using (Pen penGrid = new Pen(_gridColor, 1))
{
for (int row = 0; row < _rows.Count; row++)
{
rcRow.Y = yPos;
PaintRow(e.Graphics, penGrid, Font, rcRow, si.X, _rows[row]);
yPos += _rowHeight;
}
}
int right = PaintVerticalGridLines(e.Graphics, Color.Gainsboro, si.X);
UIRows.AutoScrollMinSize = new Size(right, _rows.Count * _rowHeight);
}
private void UIRows_Paint(object sender, PaintEventArgs e)
{
e.Graphics.TranslateTransform(
UIRows.AutoScrollPosition.X,
UIRows.AutoScrollPosition.Y);
ScrollInfo si = ScrollInfo.FromControl(UIRows);
Rectangle rcDisp = UIRows.ClientRectangle;
Rectangle rcRow = new Rectangle(0,0,DisplayRectangle.Width + si.X,_rowHeight);
rcDisp.Offset(-UIRows.AutoScrollPosition.X, -UIRows.AutoScrollPosition.Y);
int yPos = 0;
using (Pen penGrid = new Pen(_gridColor, 1))
{
for (int row = 0; row < _rows.Count; row++)
{
rcRow.Y = yPos;
if (rcRow.IntersectsWith(rcDisp))
PaintRow(e.Graphics, penGrid, Font, rcRow, si.X, _rows[row]);
yPos += _rowHeight;
}
}
int right = PaintVerticalGridLines(e.Graphics, Color.Gainsboro, si.X);
UIRows.AutoScrollMinSize = new Size(right, _rows.Count * _rowHeight);
}
}
}
Top
Code Analysis
Most of the code should be easy enough to follow.
However, some may have noticed that I have two row paint methods, namely, UIRows_PaintNaive and UIRows_Paint.
One is optimal and the other is sub-optimal and, for large row counts will appear to update slowly.
Of course, one could argue that displaying more than, say, a 1000 rows is not ideal.
It is probably better to offer a search or paging mechanism.
Still, sometimes, for debugging purposes, algorithmic purposes, displaying a large row count might be useful.
In both cases, the document size is calculated. The UIRows control's AutoScrollMinSize is updated to reflect the document size.
Note, while the AutoScrollMinSize is updated, I refrain from setting AutoScroll to true.
I noticed, during development and testing that AutoScroll set to true can cause problems.
The header is repainted if the user performs a horizontal scroll.
One can view the overall painting process as a view within a larger view.
This is typically known as a viewport.
A viewport is simply the visible area within a document that is too big to display in its entirety.
One can actually envisage a viewport as an actual window.
If you look straight ahead out of a window you will get one perspective.
If you now move your head, and say, bend at you your knees, you will see an entirely different perspective.
The point is, you cannot see all there is too see out of your window.
To see more you must reorient yourself, or invest in a larger window.
The above diagram illustrates considerations required when painting a document that is much larger than the available display size.
The following analyses the two different row paint approaches.
Naive Paint Method
The naive paint method iterates and draws all rows.
The Operating System will clip accordingly.
However, calculations are still performed for each row.
Also, clipping will increase the time required to process each row.
As one might expect, this is the least performant approach, as we attemptto calculate, and paint all rows, regardless of whether or not they fall within the viewport area.